.png)
Purpose
These are basic instructions to quickly learn how to enter time in the timesheet for a Timekeeper.
Instructions
-
Open the Timesheet
-
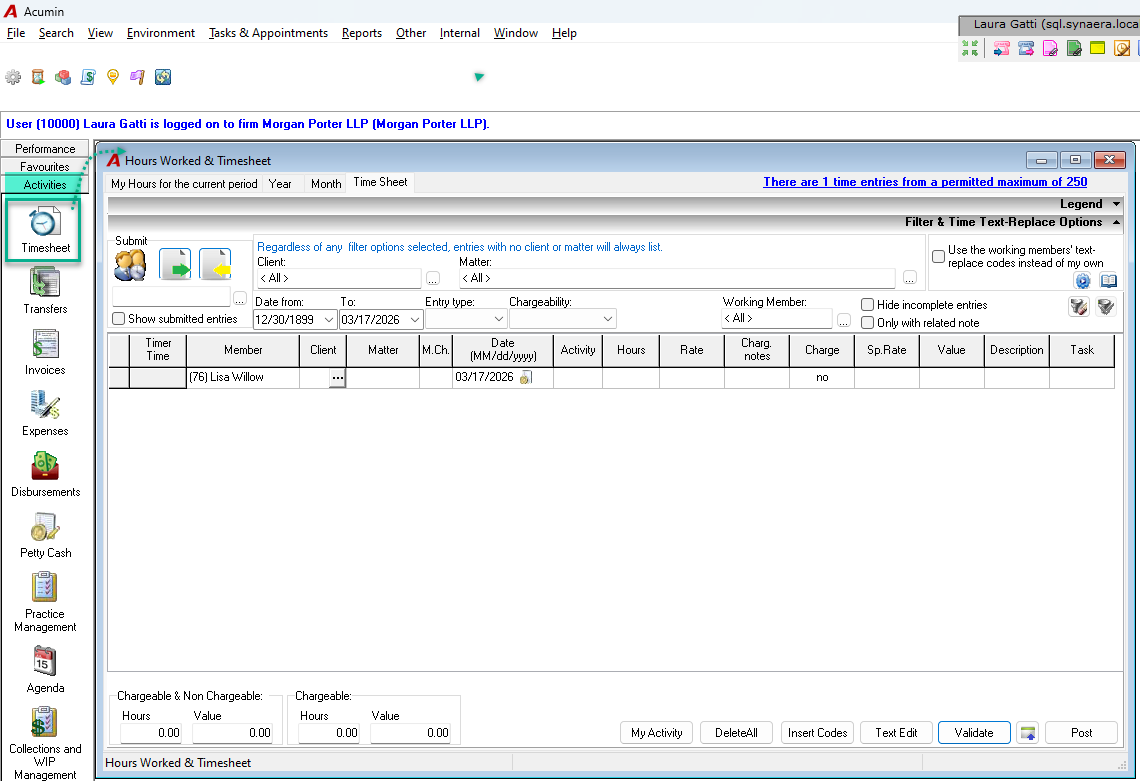
From the taskbar, open the Activities section and select Timesheet.
-
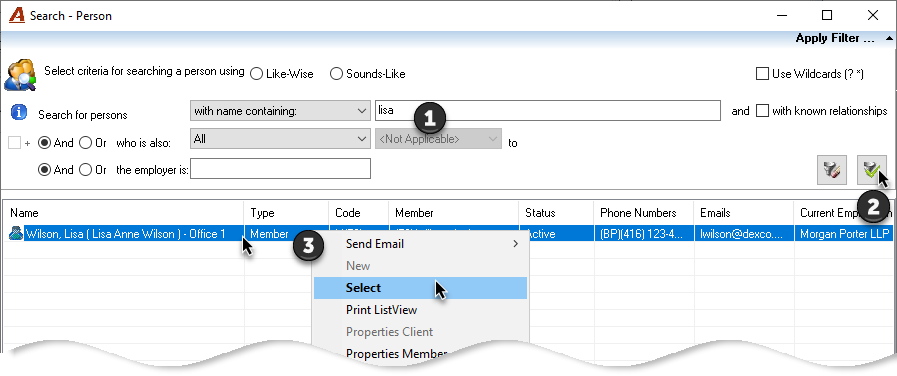
If this is not your name in the Member field, type the Timekeeper (Member) number directly, or use the ellipsis button (…) to search by name and select it.
-
Enter time in the timesheet
-
Use the Tab key to move from field to field.
-
In the Client and Matter fields:
-
Type the client and/or matter number directly, or
-
Use the ellipsis button (…) to search by name and select it.
-
If the client or matter is not yet created, you can type the name directly in the cell; it will be saved. You can return later to reselect them once they are available.
-
If the client or matter is not activated, you will not be able to post the line until they are activated.
-
-
Enter or select a Time Activity Code.
-
If the firm doesn’t use Time Activity Codes, you can leave this blank and use the Insert Codes button to insert them all at once before posting.
-
The selection of a non‑chargeable time code will make the entry non‑chargeable.
-
-
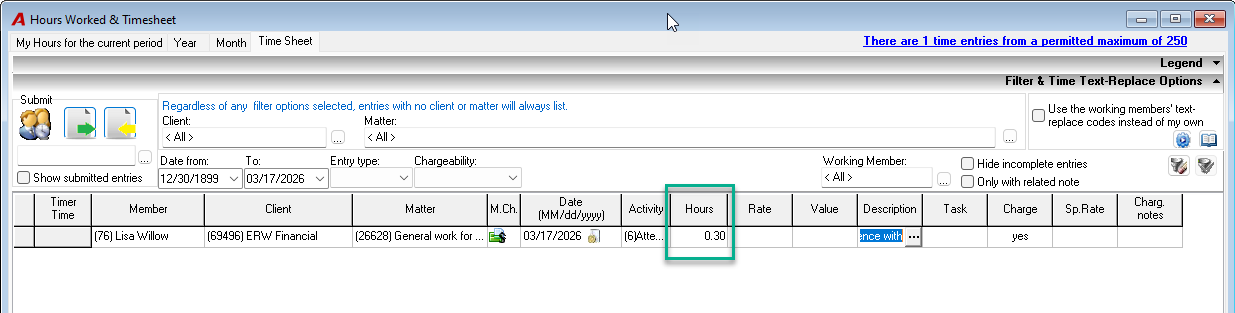
Enter the Time (for example,
0.30).
-
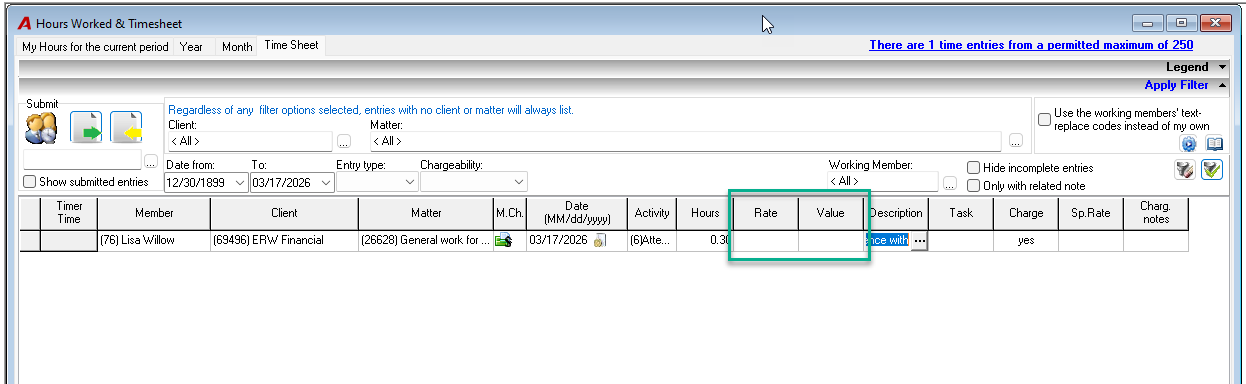
Tab over the Rate and Value fields. These will be assigned automatically by the system once all entries are validated or posted.
Note: You can set validation to occur after each line is completed in your user preferences instead of waiting at the end and press the validate or post button.
-
Add a Description:
-
Start typing directly in the description cell (the description window will open automatically), or
-
Open the description window using the ellipsis button (…) and then start typing.
-
Select a Task Code if the matter is configured as an e‑billing file.
-
-
Validate your entries
-
Use Text Edit to run spell check.
-
Click the Validate button to verify that all items have been correctly entered.
-
The system will display incorrect or incomplete data in yellow. In this case, you will need to correct or reselect the highlighted fields.
-
Submit or post your time
-
Once all time entries are correct:
-
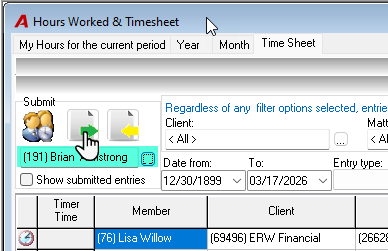
Verify if the name of your assistant is in the “Submit to” field and click Submit (green check mark) to send the list to your assistant, or
-
Click Post to validate (if needed) and post entries into WIP.
After posting, the timesheet should be empty.