.png)
Overview
This user guide provides step-by-step instructions for uploading and configuring logo images that appear on invoices, statements of account (SOA), statements of trust (SOT), and cheques generated through Acumin using both Crystal Reports and Word templates.
Logos behave differently in Crystal Reports vs. Word templates:
-
Crystal Reports: Requires logo images saved at their exact physical size.
-
Word Templates: Automatically scales logos based on height setting.
Supported File Formats: JPG and BMP
Recommended Resolution: 300 DPI (for best print quality)
SECTION 1: Preparing the Logo File
-
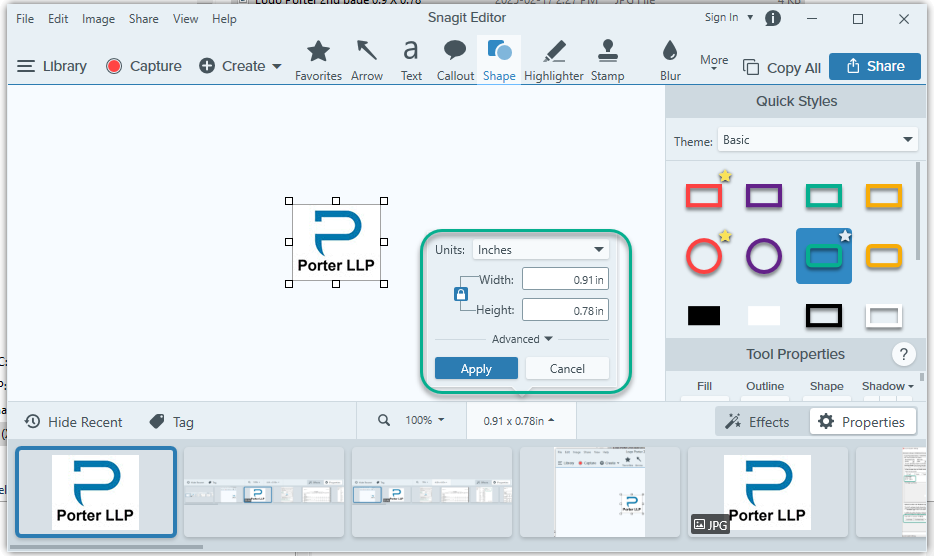
Choose an image-editing tool (e.g., SnagIt, Paint, Photoshop, GIMP).
-
Resize the image to the desired physical size it should appear on the cliet documents.
-
Save the image in JPG or BMP format.
-
Create a folder named Logos under the Acumin server directory, if it doesn’t already exist.
-
Save your prepared logo to this Logos folder.
-
Ensure all users have read access to this folder.
Note: Crystal Reports displays the logo exactly as saved—no resizing or scaling will occur.
Logo Size Guidelines for Crystal Client Documents
Minimum and Maximum Height:
-
0.5 in (1.27 cm) to 1.5 in (3.81 cm) → 150–450 pixels
Width Requirements by Position:
|
Position |
Min Width |
Max Width |
Pixels |
|---|---|---|---|
|
Left |
1.0 in (2.54 cm) |
3.14 in (8 cm) |
300–942 px |
|
Center |
1.0 in (2.54 cm) |
7.4 in (18.8 cm) |
300–2220 px |
|
Right |
1.0 in (2.45 cm) |
3.14 in (8 cm) |
300–942 px |
Second Page Header of the invoice (Optional)
Maximum Height:
-
0.78 in (2 cm) → 234 pixels
Minimum and Maximum Width:
-
1.0 (2.54 cm) in to 3.14 (8 cm) → 300-942 pixels
SECTION 2: Uploading Logo for Invoices
A. Uploading Logo for First Page of Invoice (Word & Crystal)
Step-by-Step:
-
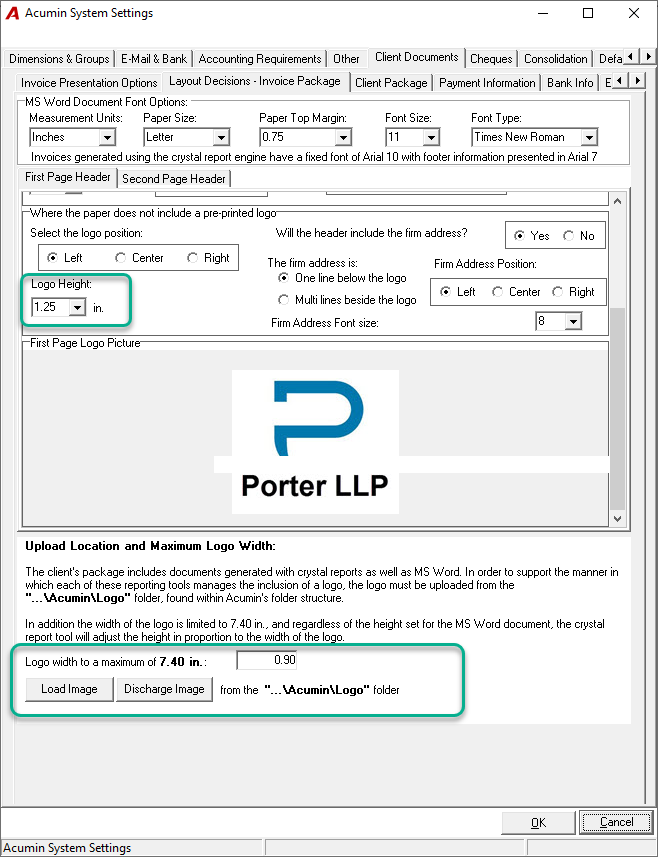
Go to: System Settings → Client Documents → Layout Decision & Invoice Package tab
-
Click Discharge Image to remove the existing logo.
-
Click Load Image and select the new logo from the Logos folder.
-
Enter:
-
Actual Width of the logo (used by Crystal)
-
Desired Height of the logo (used by Word; Word resizes proportionally)
-
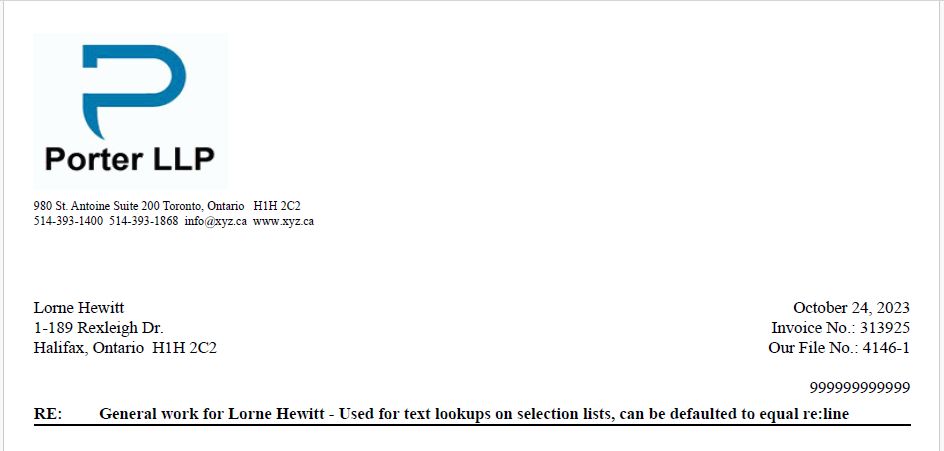
Word documents will scale logos based on height setting only.
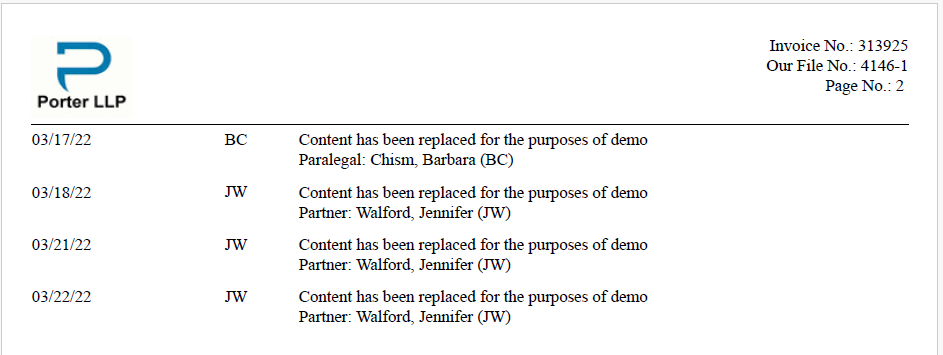
B. Uploading Logo for Second Page of Invoice
-
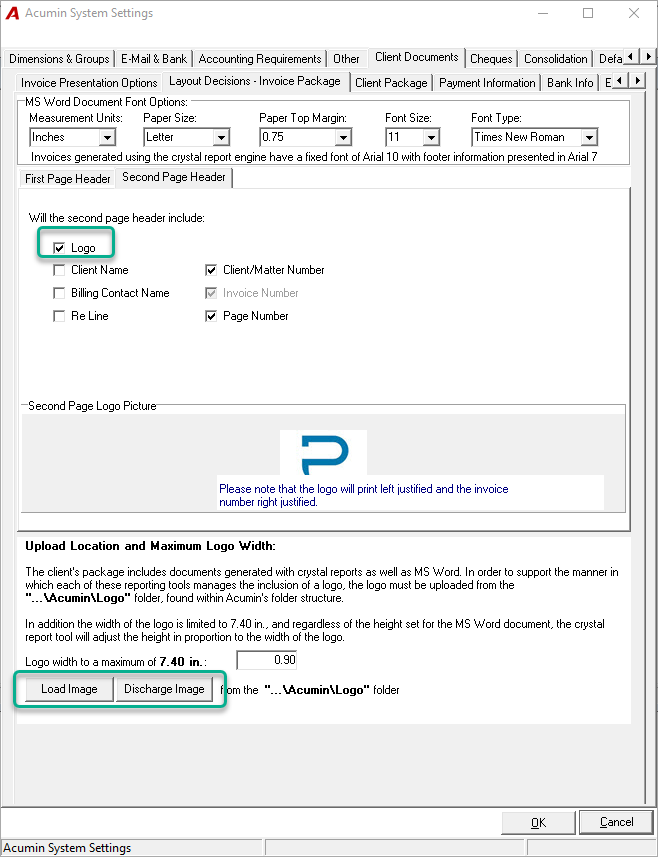
Navigate to: System Settings → Client Documents → Layout Decision & Invoice Package → Second Page tab
-
Select the Logo option.
-
Upload the second-page-specific logo using the same Load and Discharge button.
-
DO NOT modify the Logo Width field.
Notes:
-
Word will automatically resize.
-
In Crystal, the uploaded file must be exactly the size you want it to appear on the second page (no width entry required).
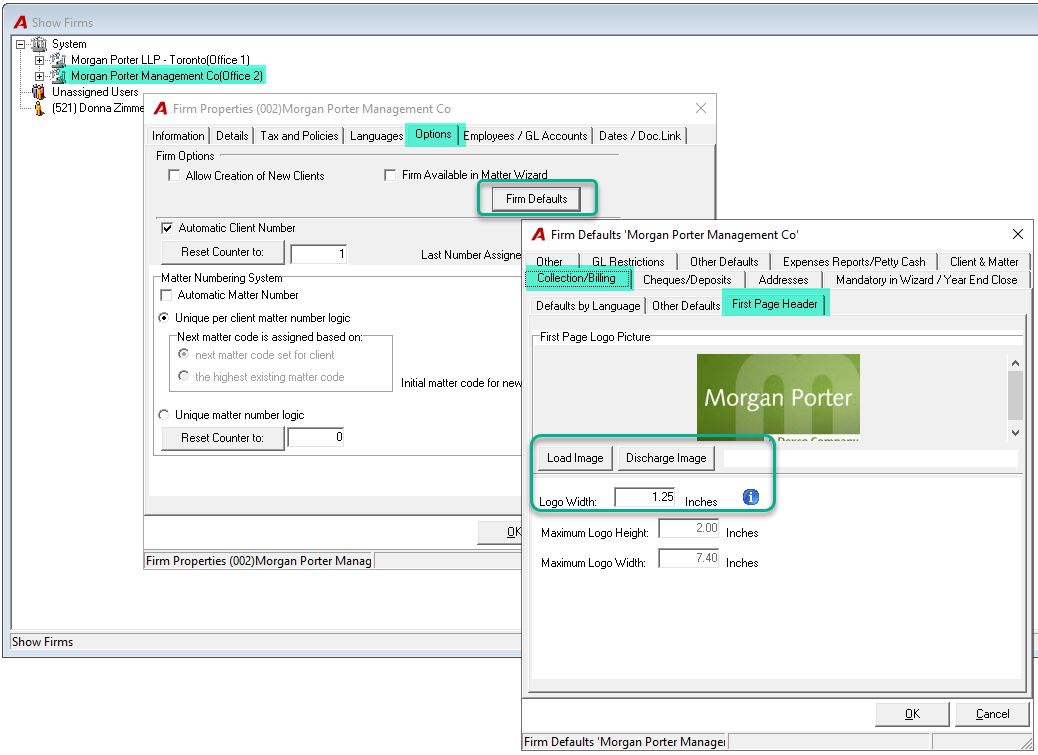
C. Applying Firm-Specific Logos
By default, uploaded logos apply to all firms.
To assign a different logo to a specific firm:
-
Navigate to: Firm Properties → Option → Firm Defaults → Logo section
-
Upload the firm-specific logo image.
-
Enter:
-
Actual Width of the logo (used by Crystal)
-
Result:
The selected logo will apply only to invoices where the firm is set as the Matter Owner.
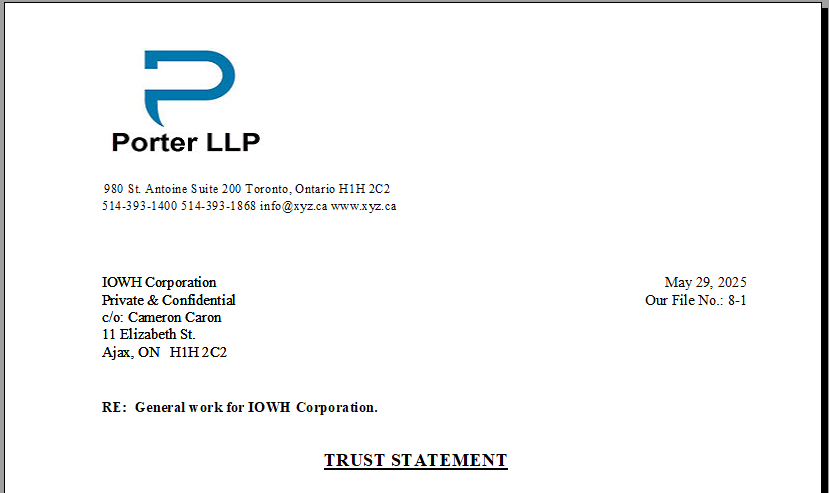
SECTION 3: Statement of Account (SOA) & Statement of Trust (SOT)
Configuration Path:
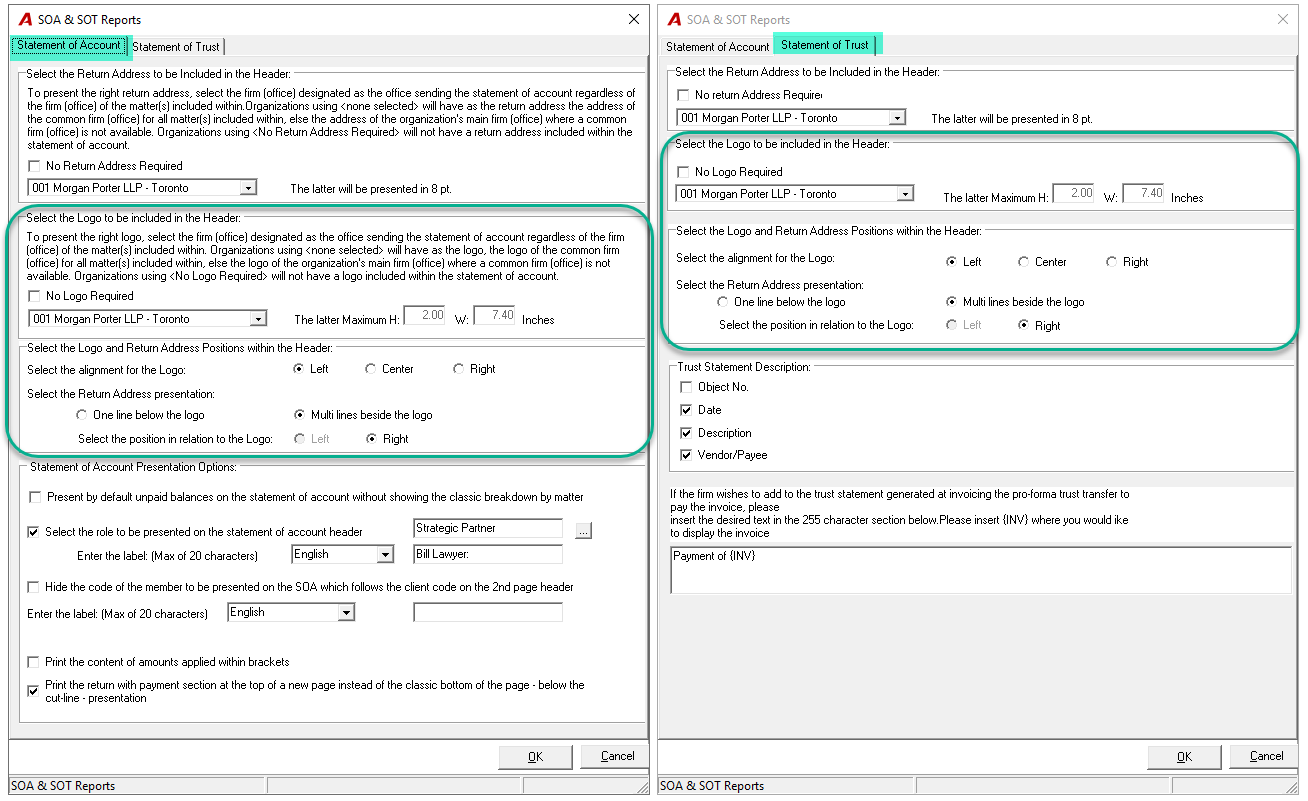
Environment → System Configuration → Client Documents → SOA & SOT Reports
Instructions:
-
Select whether SOA/SOT should use:
-
The default system-level logo, or
-
A firm-specific logo (if one is configured)
-
-
Set additional layout options such as:
-
Logo position
-
Return address location
-
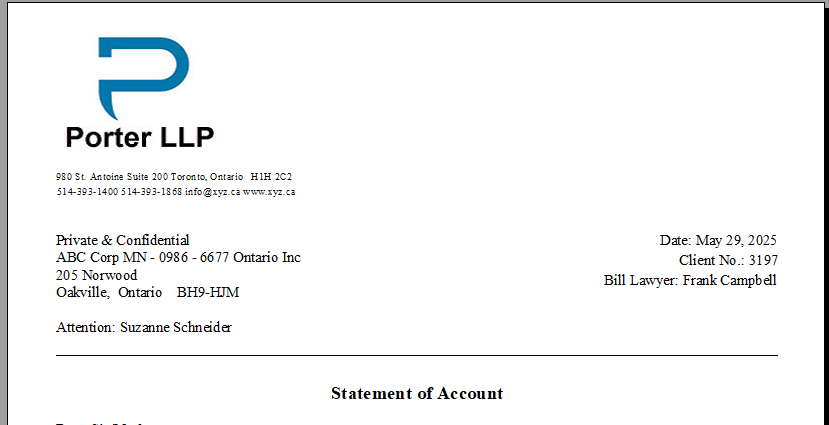
Note: Crystal Reports will use the actual size of the image file saved for the invoice—ensure it is pre-sized.
SECTION 4: Uploading Logo for Cheques (Crystal Only)
A. Supported File Types: BMP or JPG only
B. Image must be high resolution at final print size
C. Crystal does not scale images — save at exact dimensions
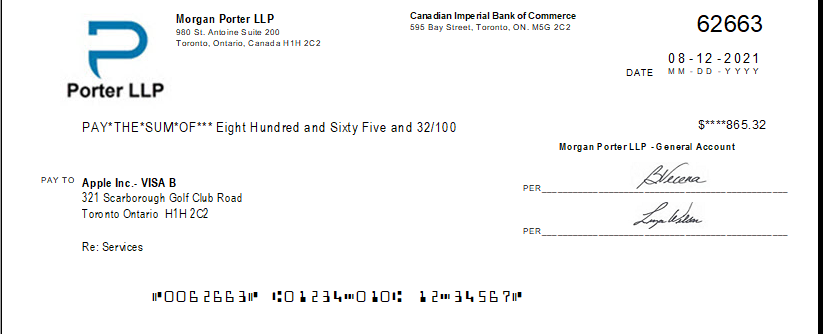
Fixed Logo Sizes Based on Position:
|
Logo Position vs the Firm Name and Address |
Width |
Height |
|---|---|---|
|
Left Side of the Firm Address |
1.5 in |
1.0 in |
|
On Top of the Firm Address |
1.5 in |
0.5 in |
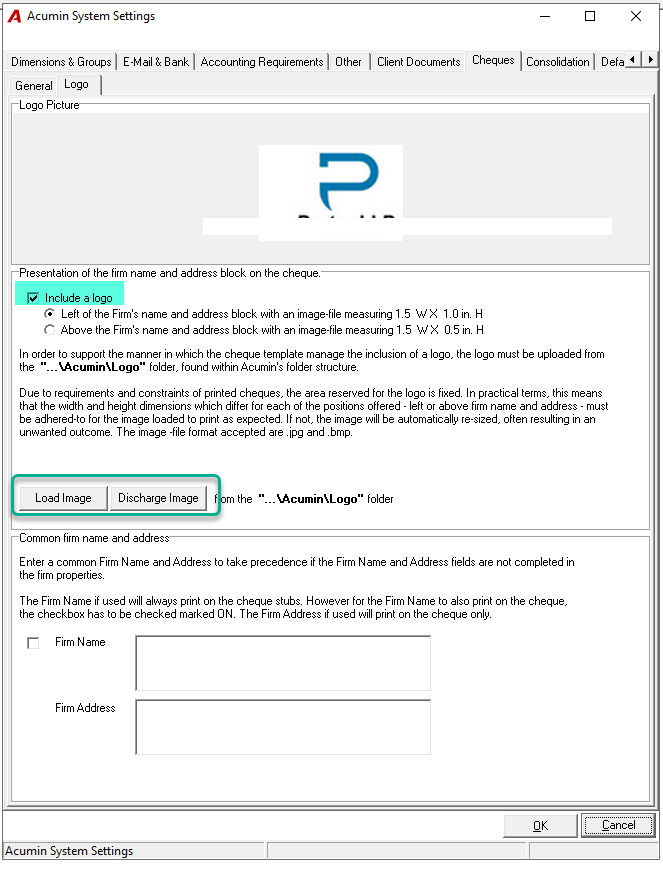
Uploading Logo for Main Firm:
-
Go to:
System Settings → Cheques → Logo tab -
Select logo position (Left or Above).
-
Upload logo image with exact required dimensions.
-
Enter return address info if needed.
Result: All cheques printed in the environment will show the logo
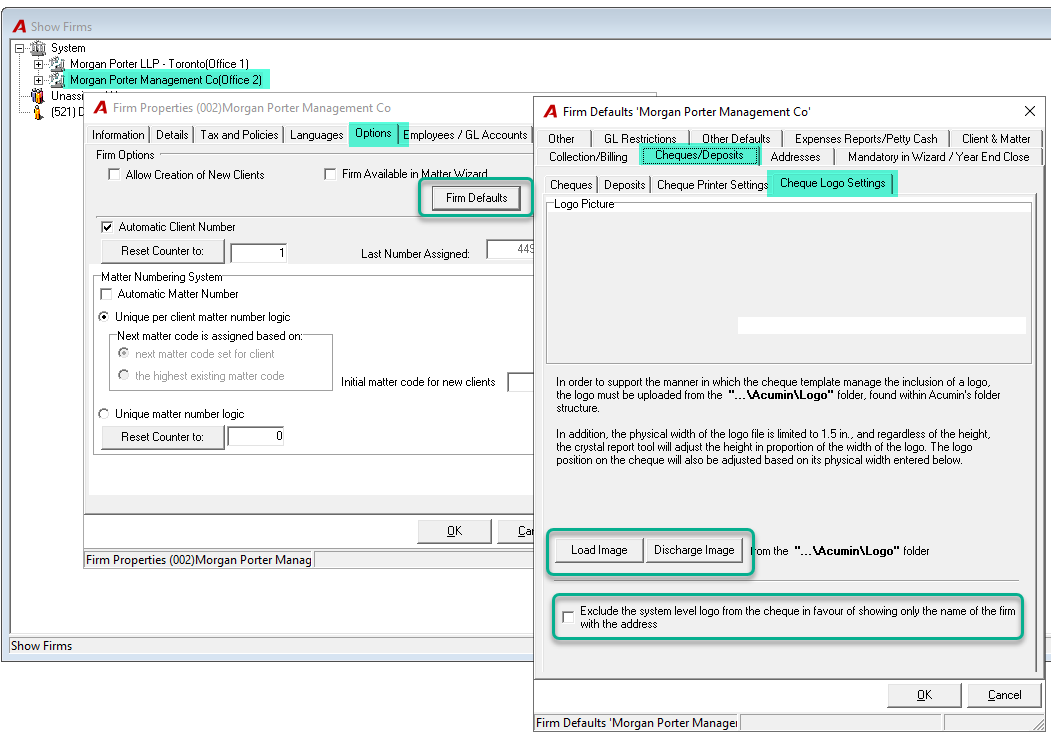
Uploading Logo for a Specific Firm:
-
Navigate to:
Firm Properties → Option → Firm Defaults → Cheques/Deposits → Cheque Logo Settings -
Upload a logo specific to this firm or select the “Exclude …” option if no logo is needed, only the firm and address information will print.
BEST PRACTICES & TIPS
✅ Always preview your documents in both Word and Crystal after uploading a logo
✅ Maintain a consistent naming convention for logos
✅ Use 300 DPI for clean, professional print quality
✅ Store all logos in the shared Logos folder on the server
✅ Ensure all users have read access to the Logos folder